How Disc Brakes Wear Down Over Time
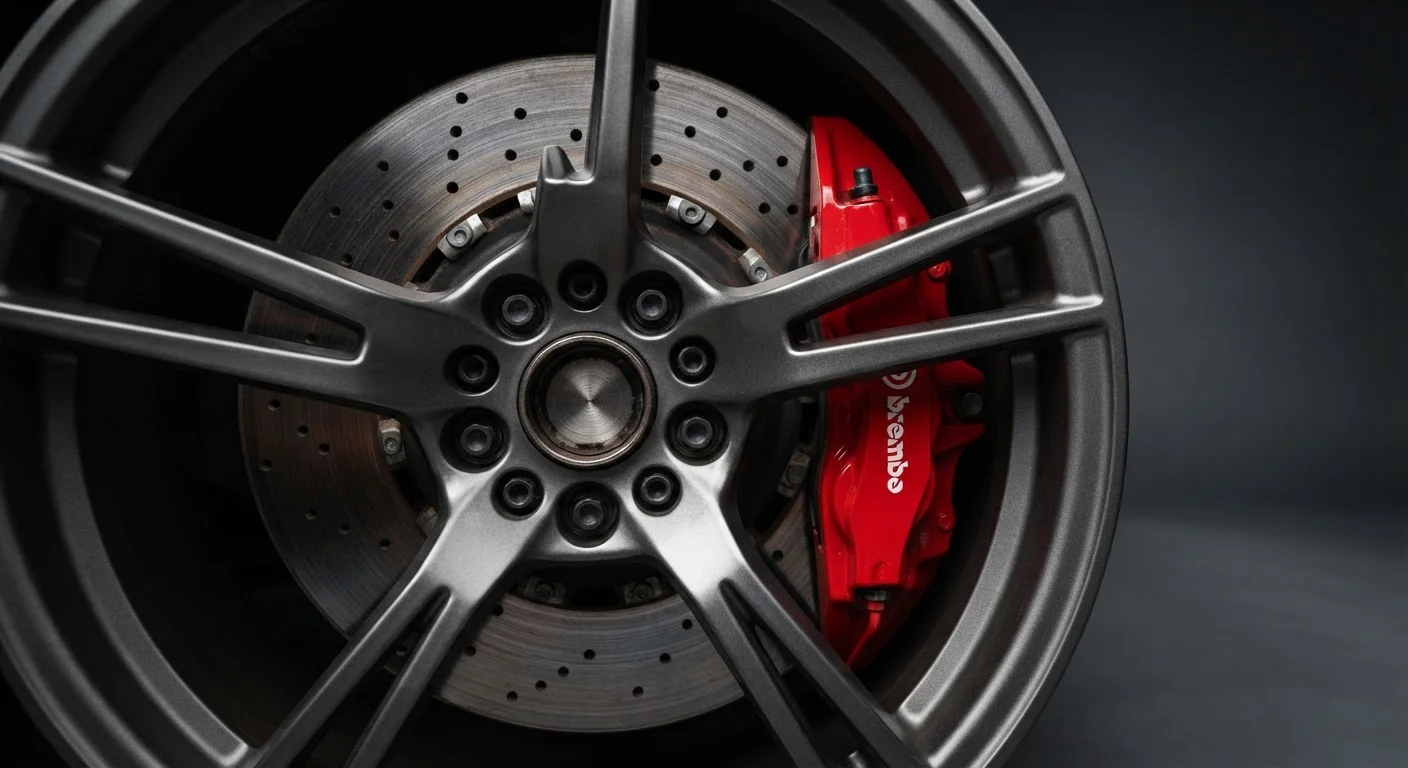
Most modern passenger vehicles use disc brakes on at least the front axle, and increasingly on all four wheels. The system is straightforward: when you press the brake pedal, hydraulic pressure forces brake pads to clamp against a spinning metal rotor. Friction does the work of slowing the vehicle, and over thousands of stops, that friction gradually wears the pads down.
New brake pads typically start with about 10-12 mm of friction material. Most mechanics recommend replacement somewhere in the 2-3 mm range. Letting pads wear below 2 mm risks metal-on-metal contact between the pad's backing plate and the rotor - which damages the rotor, reduces braking effectiveness, and turns a routine pad replacement into a more expensive repair.
Rotors wear too, though more slowly. Heat cycles from braking cause warping over time, and rotors have a minimum thickness specification stamped directly on them. A rotor that's worn or warped beyond its spec needs to be resurfaced or replaced. For a broader look at how brake inspections fit into overall maintenance, see our guide on keeping a car roadworthy on a realistic schedule.
“The brake system is the single most important safety system on the vehicle. Drivers tend to think about brakes only when something goes wrong - but by then, the problem is already advanced.”
— National Highway Traffic Safety Administration, U.S. federal vehicle safety agency
Warning Signs Worth Acting On
Your brakes communicate when something is off - you just need to know what to listen and feel for.
- High-pitched squealing: Most brake pads include a small metal wear indicator that begins squealing when the pad approaches minimum thickness. This is a designed-in warning, not a fluke.
- Grinding or metal-on-metal noise: This usually means the pad material is gone. Get it inspected immediately - the rotor is likely being scored.
- Pulsating or vibrating brake pedal: Often a sign of warped rotors. The pedal throbs because the rotor surface isn't perfectly flat as it spins.
- Pulling to one side: If the vehicle drifts left or right under braking, a caliper may be sticking or a pad may be worn unevenly.
- Longer stopping distances: If your car is taking noticeably more distance to stop, the braking system may be compromised. The science behind stopping distance helps explain why this matters at real-world speeds.
- Spongy or sinking pedal: A pedal that feels soft or sinks toward the floor can indicate air in the brake lines or a problem with the master cylinder - both require prompt professional attention.
When to Stop Driving Immediately
If you hear continuous grinding, experience a significant loss of pedal pressure, or notice the vehicle pulling hard to one side under braking, don't continue driving to a shop if it can be avoided. Arrange a tow or roadside assistance instead. Brake system failures can escalate quickly, and driving on compromised brakes puts both you and others at risk.
What a Brake Inspection Actually Involves
A basic brake check doesn't always require a lift or removed wheels, though a more thorough inspection does. Here's what to expect:
Check pad thickness visually through the wheel spokes before long trips or at every oil change
Pad wear is gradual and easy to miss without periodic checks. A quick look through the wheel can show whether the friction material is getting thin - most pads have a wear groove or indicator that's visible without removing the wheel.
Pay attention to changes in pedal feel and note them before your next service appointment
Pedal feel is one of the most reliable indicators of system health. Changes in firmness, travel distance, or pulsation often signal specific problems that a mechanic can diagnose faster when you describe exactly what you noticed.
Have brakes inspected by a qualified mechanic at least once a year, regardless of mileage
Driving style, climate, and terrain all affect wear rates unpredictably. Annual inspections catch issues that mileage-based rules miss - including stuck calipers, cracked rotors, or brake hoses that are deteriorating from the inside.
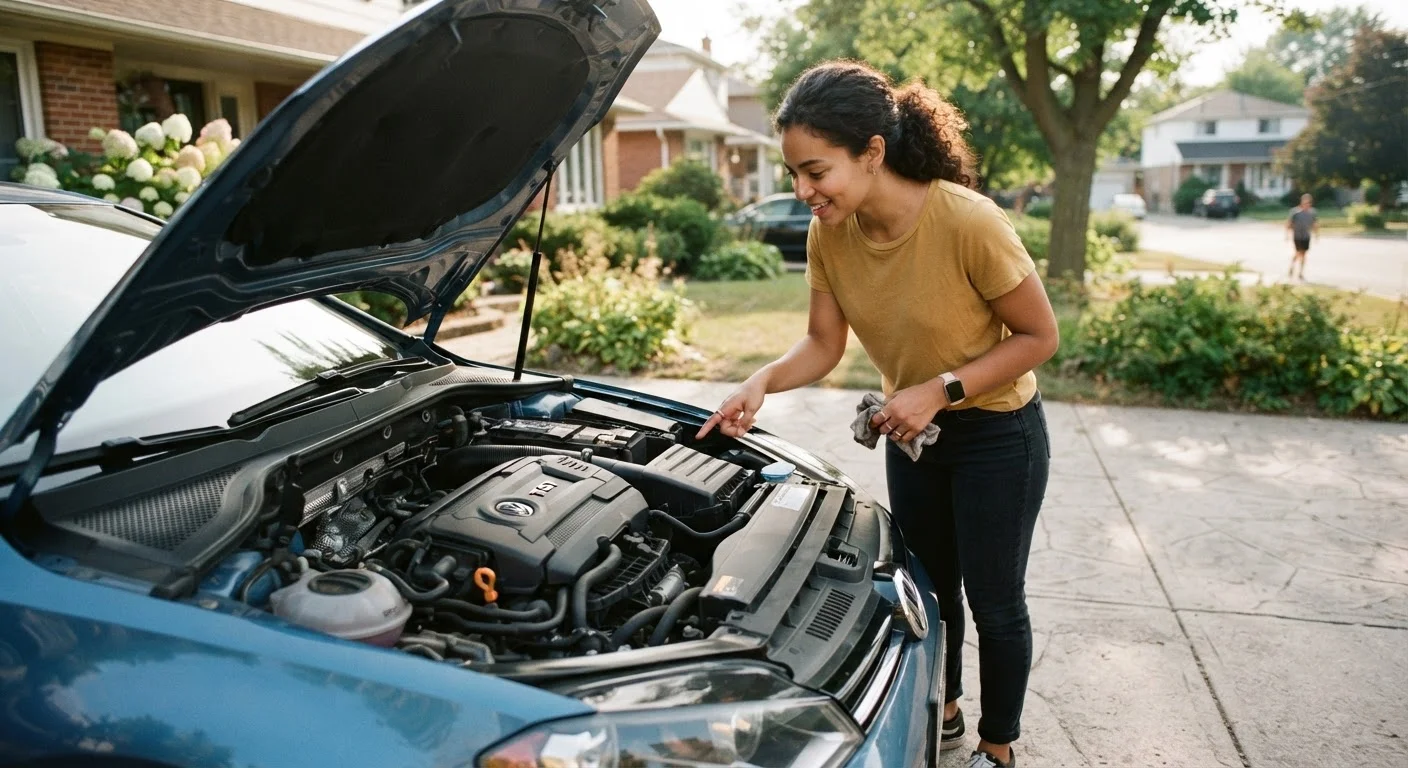
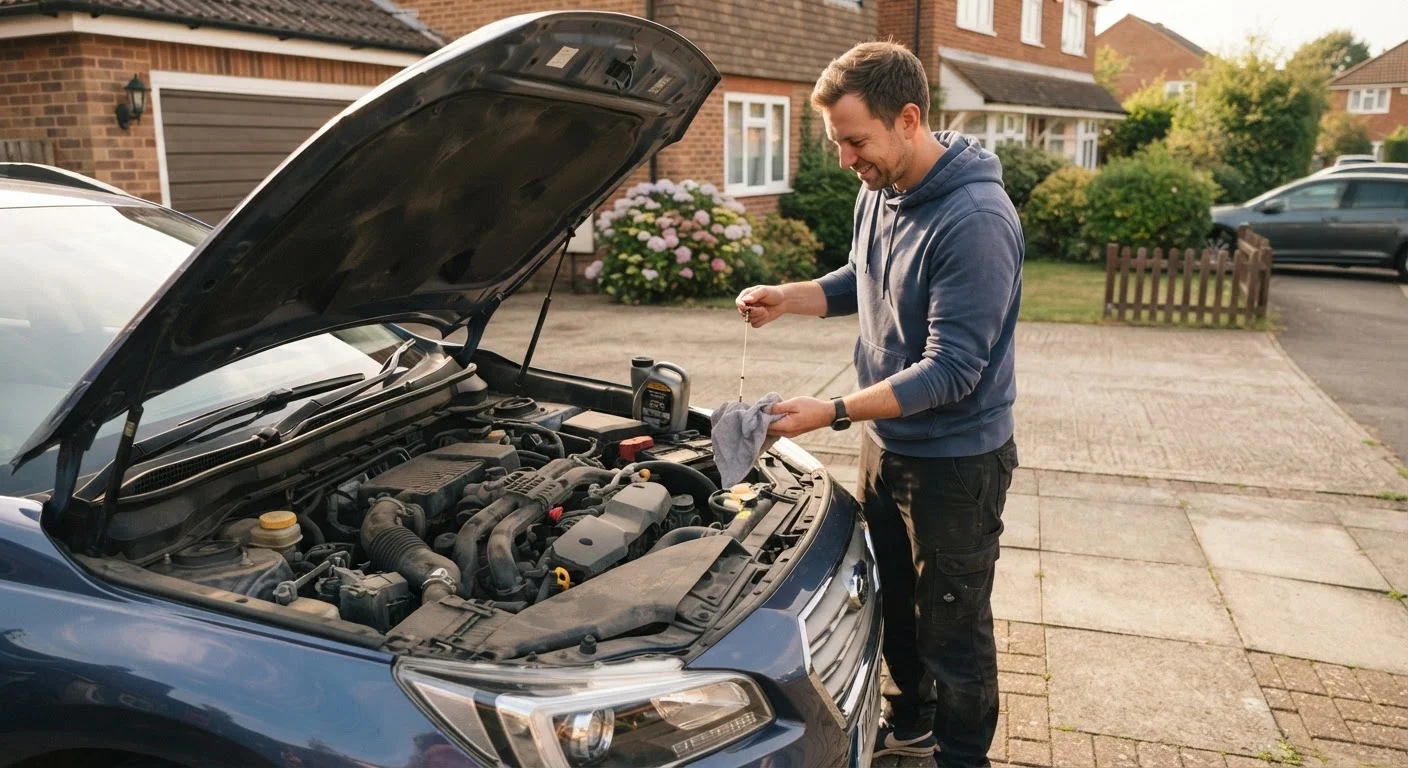
Check brake fluid level and color monthly as part of a routine under-hood look
Brake fluid is hygroscopic - it absorbs water vapor from the air over time. Moisture contamination lowers the fluid's boiling point, which can cause fade during heavy braking. Dark or murky fluid is a sign it's due for a change.
Don't ignore brake warning lights - treat them as an immediate signal to investigate
Modern vehicles have brake system warning indicators on the dashboard. These can signal low fluid, a pressure imbalance between brake circuits, or a parking brake left engaged. Ignoring them masks potentially serious faults.
Don't overlook brake fluid. Brake fluid absorbs moisture over time, which lowers its boiling point and can reduce braking efficiency. You can check the fluid level in the reservoir under the hood without any tools - it should fall between the minimum and maximum marks. Our article on reading your car's fluid levels covers what degraded brake fluid looks like and when it typically needs changing.
If you're unsure whether brake work is something you can handle yourself, our piece on DIY vs. shop maintenance gives a clear-eyed look at where the line sits for safety-critical systems.
Making Brake Checks a Habit
The best approach is building brake awareness into existing routines. A quick visual check through the wheel spokes takes seconds and can catch obvious issues before a drive. A more thorough inspection - ideally by a qualified mechanic - is worthwhile every 12 months or 12,000 miles, or any time you notice a change in how your brakes feel or sound.
Brakes are one area where deferred maintenance carries real safety consequences. Catching wear early keeps repair costs manageable and, more importantly, keeps stopping distances predictable. For a broader pre-drive awareness habit, see our pre-trip vehicle check guide.