Why Data Loss Happens During Device Setup
Most data loss during a device switch isn't caused by technical failure - it's caused by moving too fast. People power on a new device, get excited, and skip the backup step on their old one. Or they assume the cloud has everything covered, not realizing that some apps store data locally and never sync it anywhere.
Understanding where your data actually lives helps prevent gaps. Photos, contacts, and calendar events are typically synced to a cloud account - iCloud for Apple devices, Google's servers for Android - and transfer reliably. But chat histories, game progress, and files saved to local storage often require extra steps or app-specific backups. Knowing this before you start lets you plan accordingly.
Back Up Before You Do Anything Else
Every data loss story during a device transfer traces back to one skipped step: the backup. Even a transfer that goes smoothly can leave gaps - apps that store data locally, files saved outside the synced folder, or settings that don't carry over. A completed, verified backup on your old device is the only guaranteed way to recover if something goes wrong. Do not skip or rush this step.
Storage type also plays a role: devices with solid-state drives handle data differently than older hard-disk-based computers. If you're curious about how your device stores data under the hood, our overview of SSD vs. HDD storage explains the differences in plain terms.
What You'll Need Before You Start
Gathering the right tools and information before you begin makes the process significantly smoother. You don't need advanced technical knowledge - but you do need a few specific things ready:
What you will need
Cloud backup service
Stores a copy of your contacts, photos, app data, and settings remotely so they can be restored on a new device.
USB transfer cable or wireless transfer app
Moves large files or enables the manufacturer's device-to-device migration wizard during initial setup.
Password manager
Stores and syncs your login credentials across devices, eliminating the need to remember or manually re-enter passwords.
External hard drive or USB flash drive
Provides a local backup of photos, documents, and files as a secondary safeguard alongside cloud backup.
Having your Wi-Fi password on hand is more important than it sounds. Several transfer methods require both devices to be on the same network simultaneously, and setup wizards will ask for it early in the process. Check your router label or your home network settings if you're unsure.
Follow These Steps in Order
The sequence below is designed to protect your data at every stage. Skipping ahead - particularly past the backup and credential steps - is the most common source of problems. Work through each step before moving to the next.
Back up your old device
Before touching your new device, create a fresh backup of your old one. On an iPhone, go to Settings → [Your Name] → iCloud → iCloud Backup and tap Back Up Now. On Android, go to Settings → System → Backup and confirm your Google account backup is current. On Windows, use File History or the built-in backup tool; on macOS, use Time Machine or an iCloud backup.
Confirm the backup completes successfully - look for a timestamp showing today's date - before proceeding. This single step is your safety net if anything goes wrong during transfer.
Note your account credentials and two-factor settings
Write down or confirm access to every account you use daily: your Apple ID or Google account, email, banking apps, and any subscription services. Pay special attention to two-factor authentication (2FA) - a security feature that sends a code to verify your identity. If those codes currently go to your old device, you need to update the delivery method before you lose access to that device.
If you use a password manager, verify it's syncing correctly. If you don't yet use one, a device transfer is a practical time to start - see our guide to password managers for a plain-language walkthrough.
Power on your new device and follow the setup wizard
Turn on your new device. Both iOS and Android (and Windows and macOS) offer guided setup wizards that walk you through language, Wi-Fi, and account sign-in. When prompted, choose the option to restore from backup or transfer from your old device rather than setting up as new. This pulls in your apps, contacts, and settings automatically.
Keep both devices close together during this step - direct device-to-device transfer features (such as Apple's Quick Start or Android's Tap & Go) require them to be physically near each other and on the same Wi-Fi network.
Verify your data after transfer
Once the restore or transfer completes, spend 10-15 minutes checking that your key data arrived intact. Open your contacts app and spot-check a few entries. Launch your photo library and confirm recent photos are present. Open two or three apps you use regularly and verify your data and settings are there.
If anything appears missing, check whether the app stores its data in a cloud account of its own - many apps (such as messaging platforms and note-taking tools) sync through their own servers separately from your device backup. Sign back in to those apps to trigger a sync. If sync problems surface later, our article on fixing cross-device sync issues covers the most common causes and solutions.
Sign out of your old device and deactivate it properly
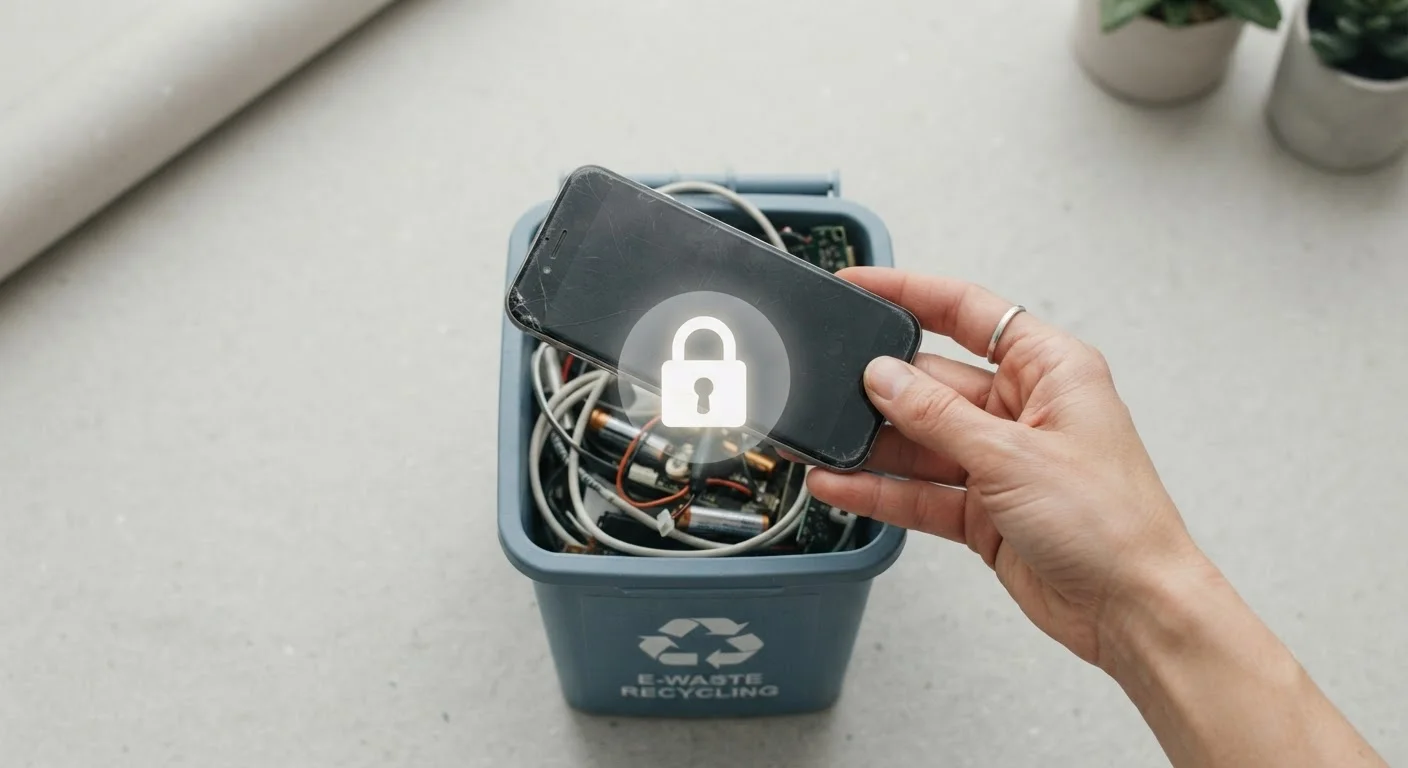
On an iPhone, go to Settings → [Your Name] → Sign Out to remove your Apple ID before selling, donating, or recycling the device. On Android, go to Settings → Accounts and remove your Google account, then perform a factory reset. On laptops, sign out of your OS account and deauthorize apps (such as media software that limits the number of authorized devices).
Skipping this step leaves your personal accounts linked to a device you no longer control, which creates a security risk. Proper sign-out also ensures the next owner can set the device up cleanly.
Don't Wipe Your Old Device Too Soon
It's tempting to factory-reset your old device immediately after the transfer looks complete. Resist this urge. Give yourself at least a few days of using your new device before wiping the old one. This grace period lets you discover any missing files, apps, or account access while you still have the original device to reference or re-transfer from.
After Setup: Make the Most of Your New Device
Once your data is confirmed and your old device is properly signed out, you're fully set up. But the transition period is also a valuable opportunity to build better habits.
Use a New Device as a Fresh Start
A device transfer is a rare opportunity to leave behind digital clutter. Rather than restoring every app automatically, consider which ones you actually use. Our guide on auditing digital clutter offers a systematic method for deciding what's worth keeping. Once you're settled in, explore what your new device's built-in apps can do - getting more out of built-in apps shows features most users overlook.
If you run into sync issues in the days following setup - calendar events that don't appear on both devices, notes that seem to be missing - these are usually account-level sync problems rather than data loss. They're typically resolved by signing out and back in to the affected app or refreshing the sync settings in your account dashboard.
A new device is a clean foundation. Taking a few extra minutes during setup to verify your data, secure your accounts, and decide what's worth bringing forward pays dividends every day you use it.