Why Pre-Season Preparation Matters
Cold weather places greater demand on nearly every system in a home - heating, plumbing, insulation, and the building envelope. Failures that are minor inconveniences in mild weather can become emergencies once temperatures drop below freezing. A burst pipe, a furnace that won't start on the coldest night of the year, or an ice dam that forces water under roofing are all scenarios that a thorough fall walkthrough can help prevent.
This guide is organized as a sequential walkthrough you can complete yourself for inspection and minor tasks, with clear guidance on when a licensed professional is the appropriate resource. It complements the kind of detailed record-keeping that protects homeowners over time - the same discipline that applies when you're documenting a rental property's condition before moving in.
What you will need
What You'll Need Before You Start
Gather your tools and materials before beginning the walkthrough so you can address minor issues - loose weatherstripping, a dusty filter - on the spot rather than scheduling a second pass. Having everything on hand also gives you a clearer picture of what requires a follow-up professional appointment versus what you can resolve immediately.
Pipe insulation foam sleeves
Used to wrap exposed pipes in unheated spaces such as garages, basements, and crawl spaces to reduce freeze risk.
Weatherstripping material
Applied around doors and windows to seal gaps that allow cold air infiltration and heat loss.
Gutter scoop or trowel
Used to clear accumulated leaves and debris from gutters before winter precipitation begins.
Caulk gun and exterior-grade caulk
Seals cracks around window frames, door frames, and penetrations in exterior walls.
Flashlight or headlamp
Provides visibility when inspecting attics, crawl spaces, and utility areas for insulation gaps or moisture damage.
Carbon monoxide detector
Placed near sleeping areas and fuel-burning appliances to alert occupants to dangerous CO buildup from heating equipment.
Programmable or smart thermostat
Allows scheduled temperature management to maintain safe interior temps during cold snaps, even when away from home.
Make Your Walkthrough Part of a Broader Calendar
Winter prep is most effective when it fits into a year-round maintenance routine. Tracking tasks by season - including spring drainage checks and summer roof inspections - helps prevent deferred maintenance from accumulating. See our month-by-month maintenance calendar for a full-year schedule.
The Six-Step Pre-Winter Walkthrough
Work through these steps in order. The sequence moves from interior mechanical systems outward to the building envelope, which mirrors how heat loss and cold-weather risk typically flow through a home. Take notes as you go - a written record of what you found and what was addressed is useful for future maintenance planning and may support insurance or warranty claims if a covered event occurs later.
Test and service your heating system
Turn your furnace or heat pump on and run it through a full cycle before temperatures make it essential. Listen for unusual sounds - rattling, banging, or persistent clicking - and note any uneven heat distribution between rooms. Replace the air filter if it has not been changed in the past 60-90 days; a clogged filter forces the system to work harder and can reduce air quality.
Schedule a professional tune-up with a licensed HVAC technician. A qualified technician can inspect the heat exchanger for cracks, check refrigerant levels on heat pumps, clean burners, and verify that safety controls are functioning correctly. This is not a task to defer - a failing heat exchanger can allow combustion gases to enter living spaces.
Inspect and seal windows and doors
Move your hand slowly around every exterior door and window frame on a windy day. Drafts are easy to detect this way. Pay close attention to the corners of frames, where caulk shrinks and separates over time. Use exterior-grade caulk to fill any visible gaps between the frame and the wall.
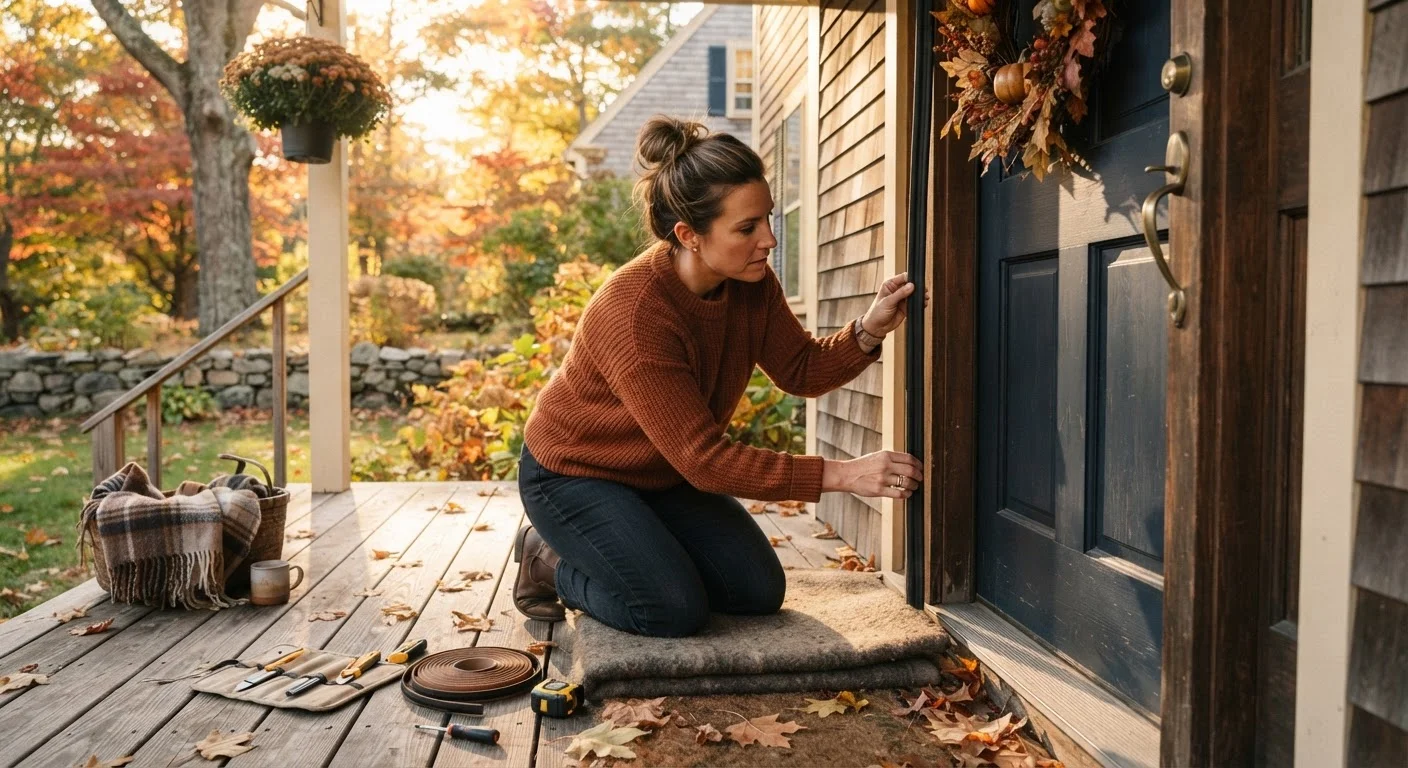
Check weatherstripping along door edges for compression, tears, or sections that have pulled away from the frame. Damaged weatherstripping is inexpensive to replace and makes a measurable difference in heat retention and energy consumption.
Insulate exposed pipes in unheated spaces
Locate any water supply pipes running through unheated areas: garages, crawl spaces, basements, and exterior walls. These are the pipes most vulnerable to freezing. Foam pipe insulation sleeves, available at most hardware stores, can be cut to length and secured without special tools.
Know where your main water shut-off valve is located before cold weather arrives. If a pipe does freeze and burst, being able to cut water supply within seconds significantly limits damage.
Clear gutters and inspect the roofline
Clean leaves, twigs, and debris from gutters and downspouts before the first freeze. Clogged gutters trap water that then freezes and expands, potentially damaging the gutter system and forcing water under roofing material - a condition known as ice damming.
While on the ladder, visually inspect the roofline for missing, curled, or cracked shingles. Check flashing around chimneys, skylights, and vents for gaps or rust. If you observe damage that warrants repair, engage a licensed roofing contractor before winter precipitation begins. Do not attempt structural or steep-pitch roof work as a DIY project.
Check attic insulation and ventilation
Adequate attic insulation reduces heat loss through the roof and helps prevent ice dams from forming at the eaves. In most US climate zones, attic insulation levels well below code minimum are common in older homes. If you can see the tops of attic joists, insulation is likely insufficient.
Attic ventilation is equally important: soffit and ridge vents allow moisture to escape and prevent condensation from accumulating on structural wood. Do not block soffit vents with additional insulation during installation. If you are unsure whether your attic meets current standards, a home energy auditor can assess it without obligation to purchase any service.
Test smoke and carbon monoxide detectors
Heating season increases the operation of combustion appliances - furnaces, boilers, fireplaces, and gas water heaters - which elevates the risk of carbon monoxide exposure. Test every smoke detector and CO detector in your home by pressing the test button and confirming the alarm sounds. Replace batteries in devices that are not hardwired, even if they appear functional.
Carbon monoxide detectors have a rated service life, typically five to seven years. Check the manufacture date on the back of each unit and replace any that have exceeded their rated lifespan. Detectors should be installed on every level of the home and within ten feet of each sleeping area.
Permitted Work Requires a Licensed Professional
Several tasks in a winter prep walkthrough - including electrical work, gas line servicing, and structural repairs - typically require permits and must be performed by licensed contractors under local building codes. Requirements vary by municipality. Always verify what your local jurisdiction requires before starting or hiring work, and do not attempt regulated tasks without appropriate credentials.
After the Walkthrough: Prioritizing What You Found
Once your inspection is complete, sort your findings into three categories: address immediately (anything affecting heating system operation or pipe freeze risk), schedule within the next two to four weeks (gutter cleaning, caulking, weatherstripping replacement), and monitor through the season (small cosmetic cracks, minor drafts in low-use areas).
If your home has significant insulation shortfalls or aging mechanical systems, consider requesting a home energy audit from your local utility or an independent auditor. Many utilities offer these at reduced or no cost. The audit can quantify heat loss and prioritize improvements in order of impact - a more structured approach than guesswork.
Winter prep fits naturally within a full-year maintenance calendar that carries through all four seasons. Homeowners who treat maintenance as an ongoing discipline rather than a reactive measure generally face fewer emergency repairs and lower long-term costs.