Why This Inspection Matters Before You Unpack
The hours between receiving your keys and moving in your furniture are some of the most legally consequential of your entire tenancy. Any damage that exists before you move in - a cracked tile, a dented baseboard, a stained ceiling - can be blamed on you when you leave, unless you have documented proof it was there first.
Under most state laws, landlords may deduct repair costs from your security deposit for damage beyond normal wear and tear. Without a clear paper trail, disputes often come down to a landlord's word against yours. A thorough pre-move-in inspection, backed by dated photos and a written report, gives you the evidence to defend your deposit. To understand the specific rules that apply in your state, see our guide on security deposit rules every US renter should know.
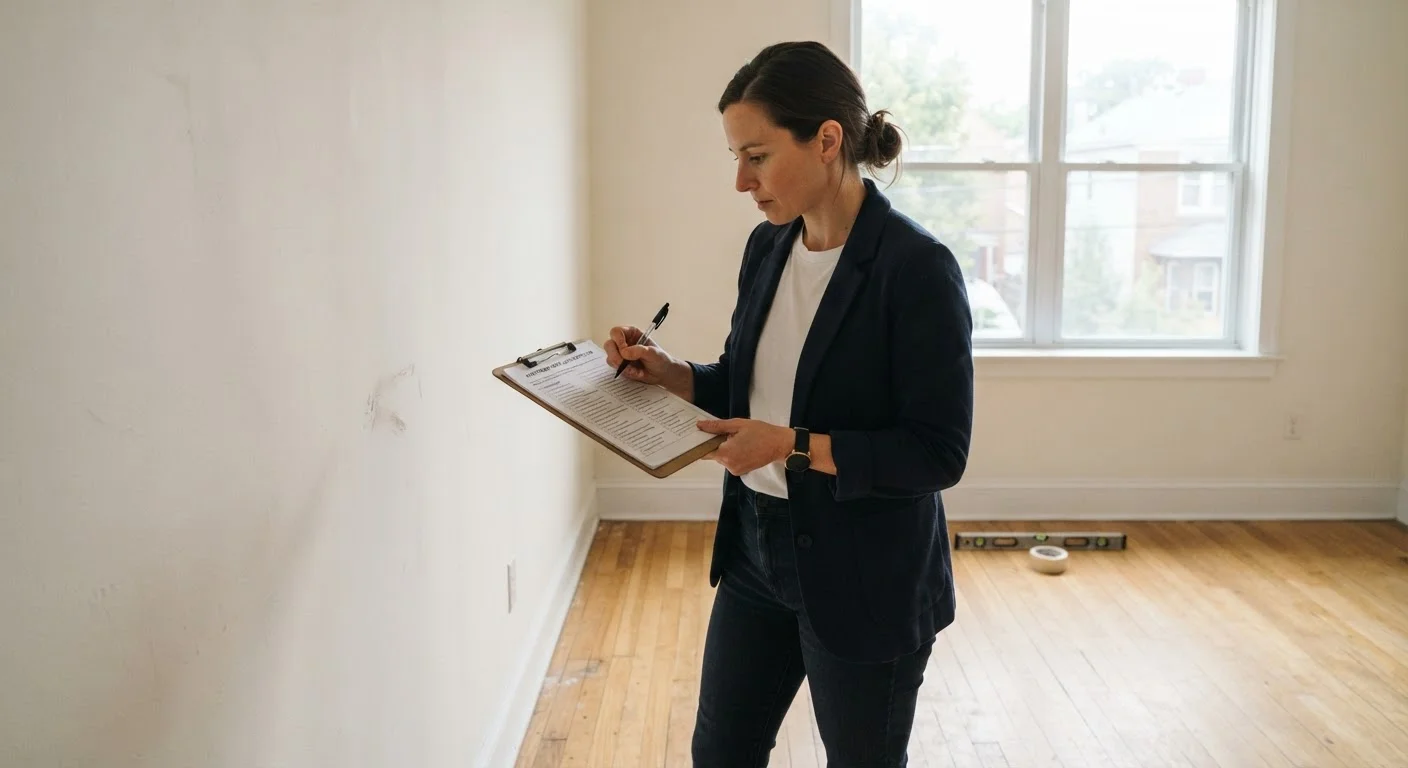
This checklist is designed to be completed before your belongings arrive. Bring a phone or camera, a flashlight, and something to write with. Walk slowly. Open every door, every cabinet, and every window. The 45 to 90 minutes you invest now can save you hundreds - or more - when you move out.
Document Before You Move Anything In
Even a single piece of furniture moved through a doorway can scratch a wall or floor, creating ambiguity about when the damage occurred. Complete your entire inspection and submit your report to the landlord before the first box crosses the threshold. This single step removes any question about the unit's pre-move-in condition and is the strongest protection available to you.
What You'll Need for the Walkthrough
A successful inspection is about more than sharp eyes - it requires the right tools and a clear process. Gather everything below before you start.
Smartphone with camera
Capture timestamped photos and video of every defect found during the walkthrough.
Flashlight or phone torch
Illuminate dark corners, cabinet interiors, and areas under sinks where defects are easy to miss.
Printed or digital inspection form
Provide a structured, room-by-room record that both tenant and landlord can sign.
Phone charger or small plug-in device
Quickly test every electrical outlet by checking whether the device powers on.
Notepad and pen
Record written observations alongside photos so the context of each image is clear.
Tape measure
Measure existing damage such as scratches or stains so size can be documented precisely.
Once you have your tools ready, move through the unit systematically - room by room, surface by surface - rather than jumping around. This reduces the chance of overlooking something. If your landlord provides a pre-printed move-in inspection form, use it as a starting point but supplement it with your own notes and photos. If no form is provided, your own written record carries the same weight when properly dated and returned to the landlord in writing. See our related guidance on communicating with your landlord to understand how written documentation protects you throughout the tenancy.
The Full Pre-Move-In Inspection Checklist
Work through each group below in sequence. Mark items as acceptable, damaged, or missing. Photograph every issue before noting it in writing.
Walls, Ceilings & Floors
Windows, Locks & Entry Points
Kitchen
Bathrooms
Electrical & Lighting
Heating, Cooling & Ventilation
Safety Devices & Final Steps
Never Skip the Written Report
Photos alone may not be sufficient in a deposit dispute - courts and arbitration panels often require a signed, dated document to establish what was communicated to the landlord at move-in. Even if your landlord seems agreeable, always follow up verbal acknowledgments of damage with a written summary sent via email. A timestamped email chain is far easier to produce as evidence than a recollection of a conversation.
When you have completed the full walkthrough, compile your notes into a written inspection report. Both you and your landlord should sign and date it. Keep a copy - a digital copy stored off-device is ideal. If your landlord refuses to sign, send your completed report via email or certified mail to create a timestamped record. For broader context on what renting involves from the very start, the guide on renting your first apartment covers the full process from application to move-in.